TIAS.com has over a half a million antiques and collectibles for your online shopping pleasure
Call Us 1-888-OLD-STUFF  | Your Account  | Merchant Login  | Shopping Cart  | Wish List  | Help
View Today's
Newly Listed Items!
Click here to view new listings

Sell Your Antiques & Collectibles Here

Free Trial Offer!
The TIAS Trusted
Merchant Guarantee
Safe Online Shopping Since 1995
Advanced
Search
 Be Our Facebook Fan
 Follow us on Twitter

 Articles
 Vintage Recipes
Shopping
 Shop!
 Find Gifts
 My Shopping Carts
Resources and Tools
 Build Your Own Store
Free Subscriptions/Archives
 Collector's Newsletter
 Antique Business News
Clubs & Organizations
 Find a Club
 List Your Club
Other Stuff
 About Us
 Contact Us
 Showcase List
Promoting thru
... Newsgroups
... Writing Descriptions
...Taking Good Pictures: Part I
...Taking Good Pictures: Part II

How to Take Photos That Sell Merchandise - part 2

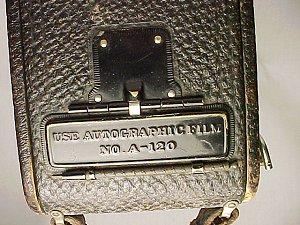
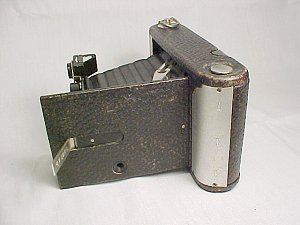
The purpose of these pages is to demonstrate the difference between good image quality and poor image quality and give some tips I have learned using the SONY Mavica MVC-FD73 Digital Camera. 

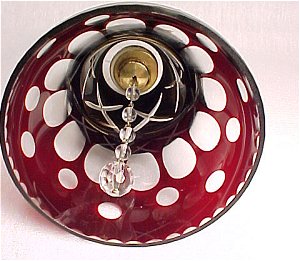
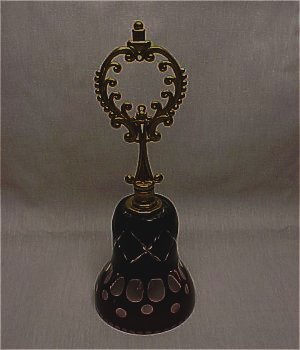
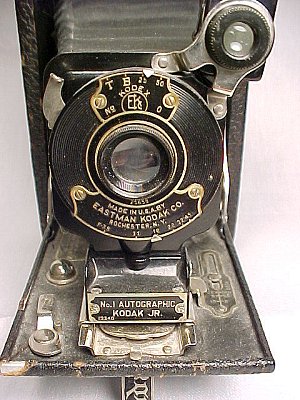
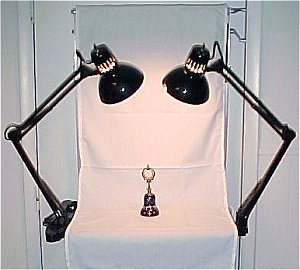
The first item I took a picture of was an antique bell my grandmother gave me. I put a blank disk in the camera and set the -/+EV value to "0" which is the middle setting between -0.5EV and +0.5EV

Then I pulled the white background down onto the table and put the bell in the center. I then ajusted the lights to be pointing directly at the bell from 45 degrees from the right and left.

Here is what my setup looked like.

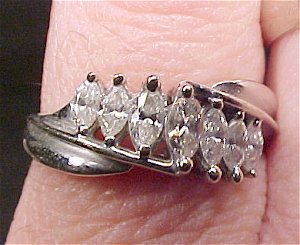
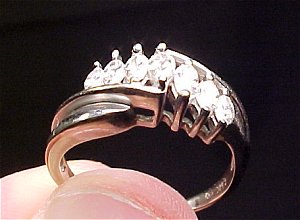
The following four images are the results. For the close up images I did not use the "Zoom" W-T function but rather moved closer to the object. The Sony has a wonderful Macro-Focus ability that often renders a better image than the zoom.

At the end of each demonstration I will put a few "Bad" images and explain the reason for their poor image quality.

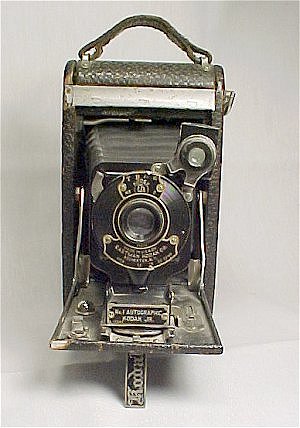
Here is the same setup with the same lighting only the flash was on. Flash is great for some images but note how it created shadows behind the bell in this shot. I find that flash is better for larger items photographed at a distance, such as furniture, or statuary, etc. . .

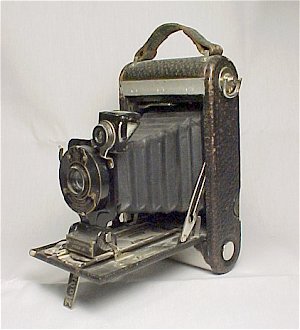
This last picture was taken with ambient room light. The light looked good to the eye but as you can see the camera could not properly render the image. The more light you have. . .the better image.


Now we will look at another example. I collect old cameras so here is what I did to capture the detail in this image.

The Camera is black so I decided to use a white background to make it stand out better.
(The bell was dark burgundy so the white worked nicely for those images as well. You probably want to use the black background for lighter colored objects or glass and crystal.)


Remember to take extra pictures at different angles of the same object. Our system allows the dealer 8 photos per item.

The buyer wants to see as much detail as possible. You need to make the image as well lit and clear as you can. They cannot be there to physically hold the object on the internet so you may want to have images of any flaws or wear marks in the antique as shown above.

Here you can see how I have utilized all 8 images to show as much of the camera as possible.


Here is an example of a Book of Gray's Anatomy from 1870.
I moved the light much closer to the object for the pages because they are pale and require more light for the camera to render the detail.

Experiment with how close you place the light to the object with items like books, jewelry, and figurines. Choose from the images which looks best for that specific item.


Now lets try some objects on a dark background.

With this glass bowl I turned one light off to give the glass a more illuminated look. But I got as close as possible to fill the frame with the bowl from right to left.

I did the same thing for this cup and saucer. Except I put the light only 4 inches above the saucer to get the bottom markings.

You can see from these images how the black background brings our attention to the object better than a light one would.


Jewelry is difficult and probably works best if you have a ring-box, felt neck for necklaces or other jewelry display items.
As for me I had to improvise with what I had around the house, which was next to nothing.
As you see I used the black background and held the ring in my hand most of the time. I placed the ring on a mirror for one shot that turned out a bit different, just be sure you do not get your light source reflected in the mirror..

Remember to try and place the object in the center of the frame and as close to the right and left edges as possible. You want to show as much detail as you can so put the object as close to the light source as you can.


My last example is an old lamp. I wanted to show how to take a picture of an object that was too big for the Light Cart.

Because the lamp is an amber color I placed it on a table covered with a white cloth and moved the table against a white wall.

I also still used the lights on the cart but placed the cart in front of the lamp and angled the lights outward towards the lamp.
I then knelt down between the cart and the lamp making sure I did not obstruct the light from the cart.

Since this lamp is in working condition I also want to take pictures of it "On". But the images where it is off are still useful in showing detail that the light inside would take away from.

The image on the right was taken with the flash on, notice how it makes the wall behind the lamp cold.

Click here to view ALL the help topics


Shops | NEW! Become an Affiliate | Advertise | Security | Privacy | Terms of Use | Question/Problem | Site Map
© Software and site design copyright 1995-present TIAS.com. All rights reserved.